Section 01
Define the planning decision before building the model
A construction terrain model can support orientation, stakeholder review, early logistics discussion or presentation. Those are different jobs. Write one decision the model should help a viewer make: understand the site's relationship to surrounding land, compare two access approaches, locate a staging concept, or identify where a field check is still required.
This keeps the scene from becoming a decorative miniature. The terrain extent, camera, routes, labels and objects should all support the same decision. If the work requires legal boundaries, quantities, grading design, drainage design, machine control or safety clearance, use the licensed survey and engineering datasets and the professional system of record. A browser map can communicate context; it cannot certify it.
Make3DMap is suitable for visual communication and early exploration. It is not a substitute for a licensed survey, civil design model, utility locate or site safety plan.
Section 02
Choose elevation data that matches the consequence of the decision
A digital elevation model represents ground relief as regularly spaced XYZ samples. Its resolution, acquisition date, processing method, coordinate system and vertical accuracy determine what the resulting surface can support. Regional public data may be useful for context but too coarse or old for detailed construction decisions. Recent project survey, lidar, breaklines and control points are more appropriate when the model will influence design or quantities.
Record the source and limitations with the scene. Check whether the data represents bare earth or a surface that includes vegetation and structures. Confirm horizontal and vertical reference systems before mixing datasets. A detailed-looking mesh does not create detail that the source never measured, and smooth rendering does not remove uncertainty.
Section 03
Frame the site together with the terrain that controls access
Cropping exactly to a parcel can hide the geography that makes the site difficult. Include the approach road, uphill catchment, adjacent slope or low point when it affects the planning question. At the same time, avoid an enormous regional frame that makes the working area visually tiny. The useful extent contains the site plus the terrain relationships required to explain it.
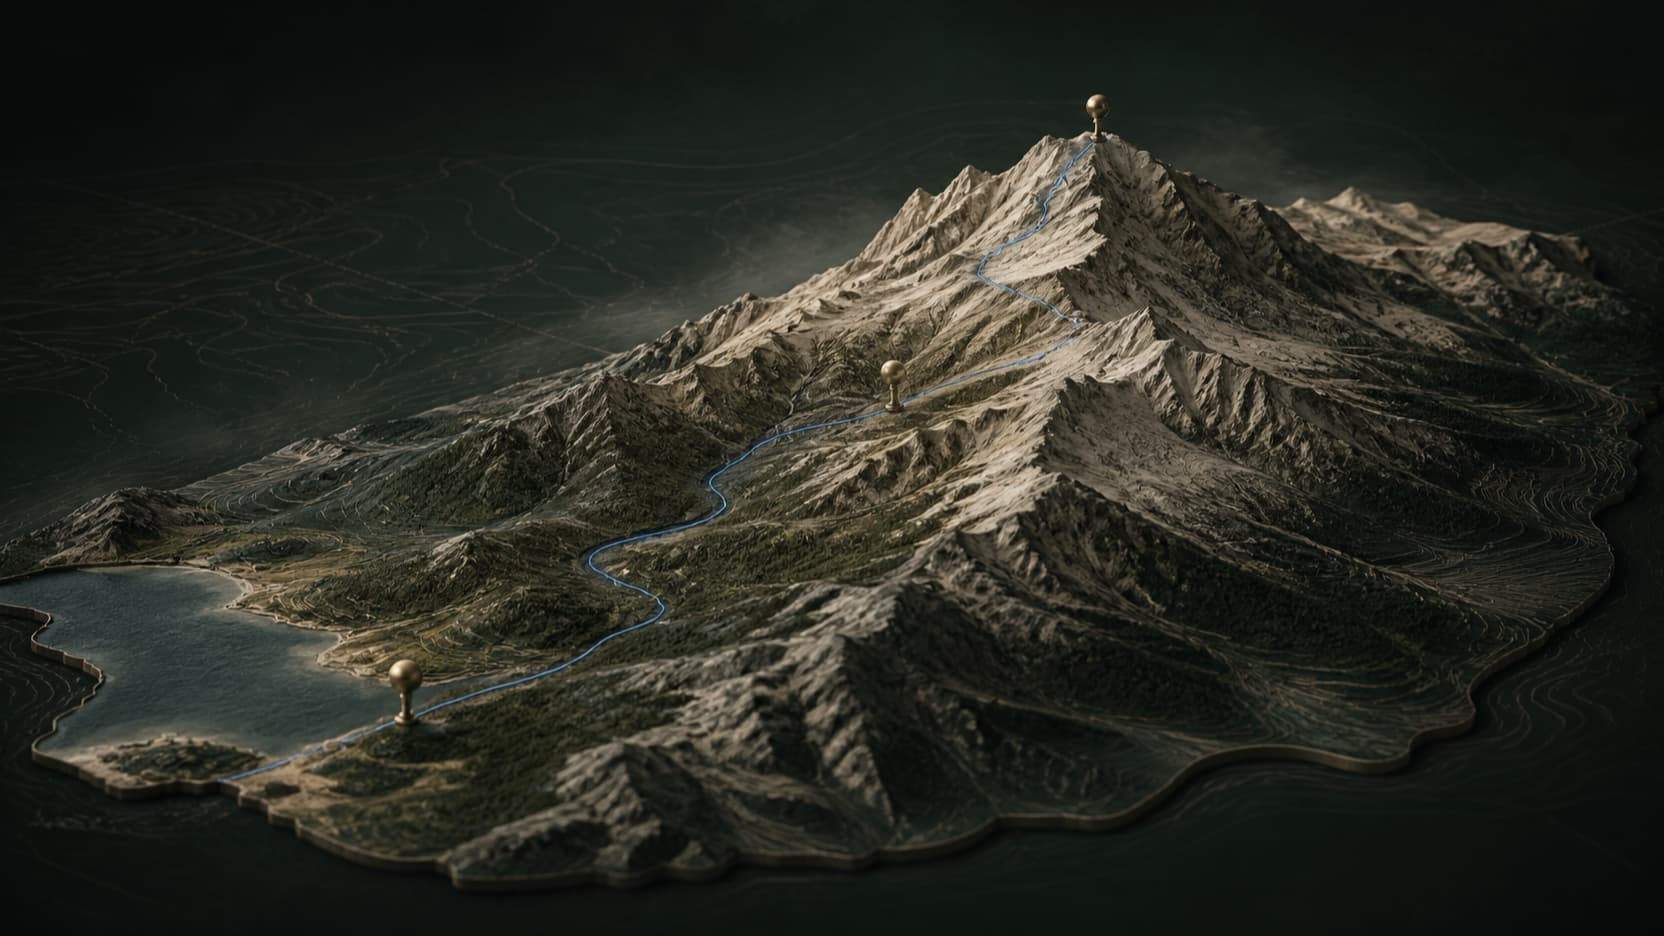
Start from a high overview that makes the boundary and approach legible, then provide closer review angles for the working area. Keep north, scale and source information available in the surrounding page or project notes. Use the interactive scene below to test whether the slope reads from the opening camera and whether a viewer can recover context after orbiting.
Section 04
Read the landform before adding site objects
Review ridges, depressions, steep transitions, benches and the connection between the site and its access. Change the light direction and camera height to reveal form, but do not confuse a dramatic shadow with measured slope. Vertical exaggeration may make subtle relief easier to discuss; label it clearly because it changes the visual impression of grade.
Use the model to generate questions rather than premature answers. Does the proposed entrance cross a sharp terrain break? Is a staging concept visually separated from the approach? Does the surrounding slope suggest that drainage, retaining or erosion conditions need specialist review? Those observations should lead back to survey and engineering evidence before action.
Section 05
Add only the boundary, access and review points
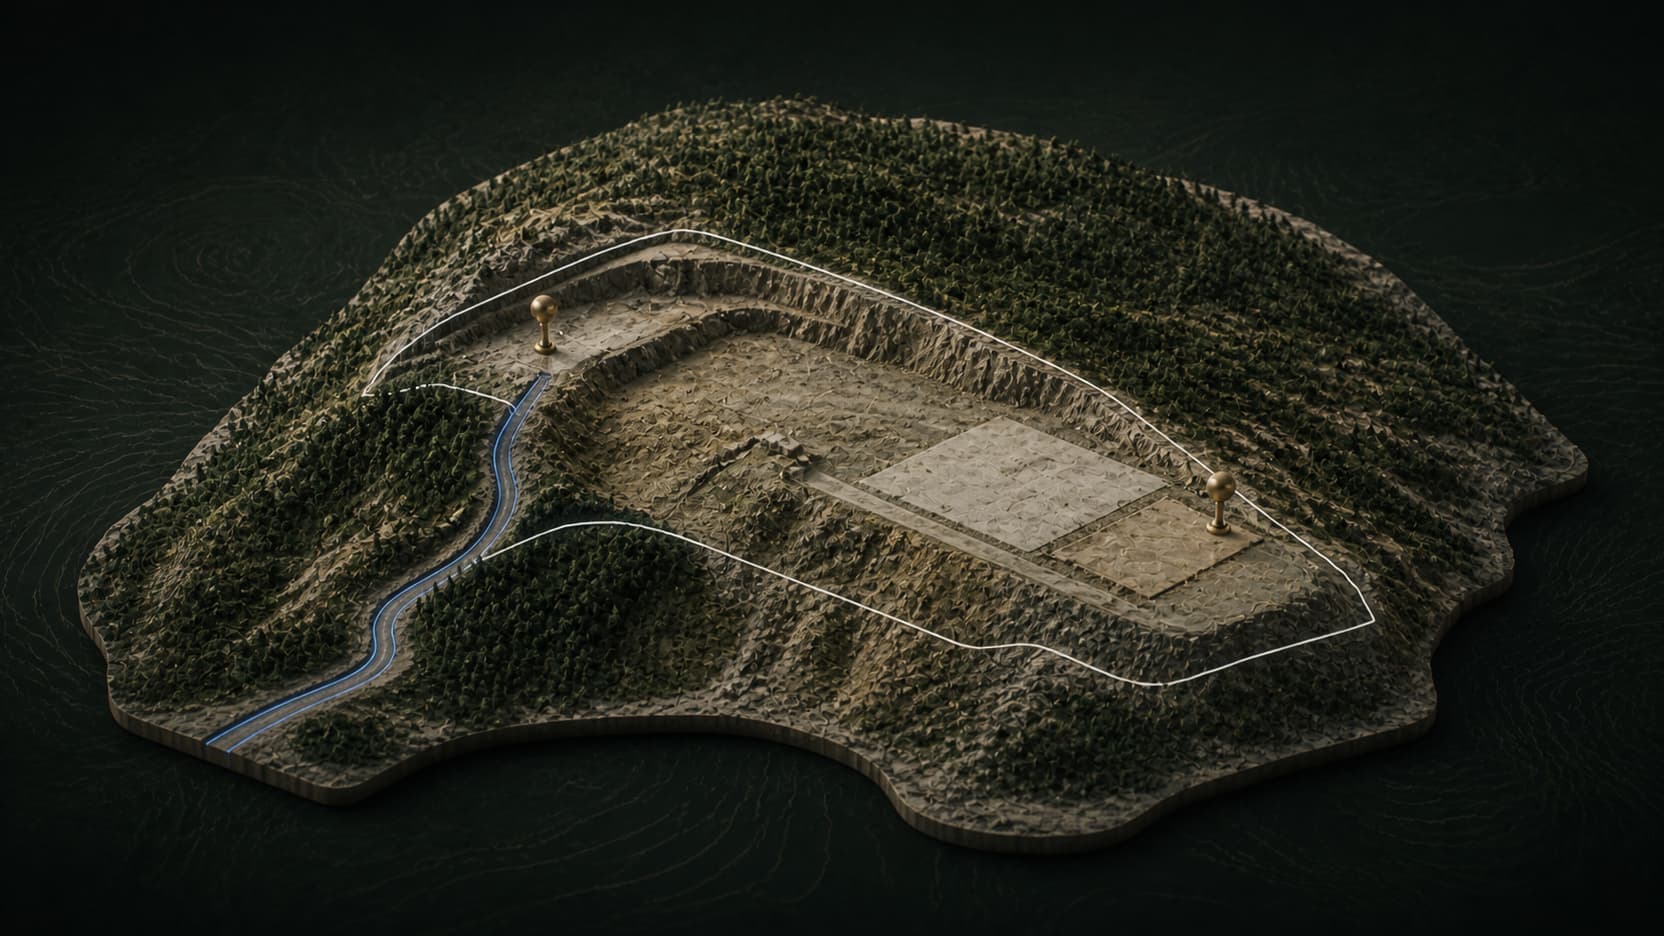
A clean site communication layer often needs one boundary, one or two access routes, a few labeled review points and a small set of recognizable objects. Use routes to show sequence and movement, pins for precise questions, text for status or ownership, and 3D objects only when their silhouette clarifies scale or intended use.
Separate confirmed information from concepts. A proposed gate should look and read differently from an existing entrance. An approximate boundary must not masquerade as a surveyed line. Keep a legend or written note that states the status and source of each layer. Removing decorative clutter makes these distinctions easier to see in meetings and shared links.
- Existing: observed or supplied project information with a named source.
- Proposed: an option under discussion, not an approved design.
- Approximate: useful for context only and visibly labeled as such.
- To verify: a question that requires field, survey or engineering confirmation.
Section 06
Share the interactive context and preserve the professional handoff
Publish a stable view that opens on the decision, not on an arbitrary editor camera. In the accompanying note, include the purpose, source date, known limitations, coordinate assumptions and the questions the reviewer should answer. An interactive link helps non-specialists understand the landform; screenshots preserve annotated states for meeting records.
When work moves into design, hand the authoritative source data and requirements to the civil, survey or BIM workflow instead of treating the visualization as the master model. Professional terrain surfaces may combine DEMs with points, contours, breaklines and boundaries, and their operation history matters. Keep the Make3DMap scene as a communication artifact connected to—not replacing—that controlled model.
Evidence
Sources and further reading
Quick reference
Frequently asked questions
Can I use a browser-based 3D terrain map for construction quantities?
No. Use the project's controlled survey and civil design surface for cut, fill, grading and quantity calculations. A browser scene is useful for communication and early questions, not certification.
What should a construction site terrain model include?
Include the site and the surrounding terrain needed for the decision, then add a clearly sourced boundary, access route and a small number of confirmed, proposed or to-verify review points.
Does a public DEM replace a site survey?
No. Public DEMs vary in resolution, date, surface type and accuracy. Use licensed, current project data whenever the consequence requires survey or engineering precision.